Learn Enough CSS & Layout to Be Dangerous | Learn Enough to Be Dangerous
You have to make a choice. Choose...wisely.

Get occasional notifications about things like product discounts, blog posts, and new or updated tutorials. Unsubscribe at any time.

Quick Checkout
or Pay by Credit Card
Error processing your payment
  • You didn't choose whether or not to be added to the mailing list
Confirm
$0.00

Payments and credit card details are securely managed and protected by Learn Enough's payment processor, Stripe. More information on their site:

CART
Total
$0.00

Your Cart is Empty

$30
$300
$300
$XY
$XY
1234
Get Single Tutorial
MORE INFO

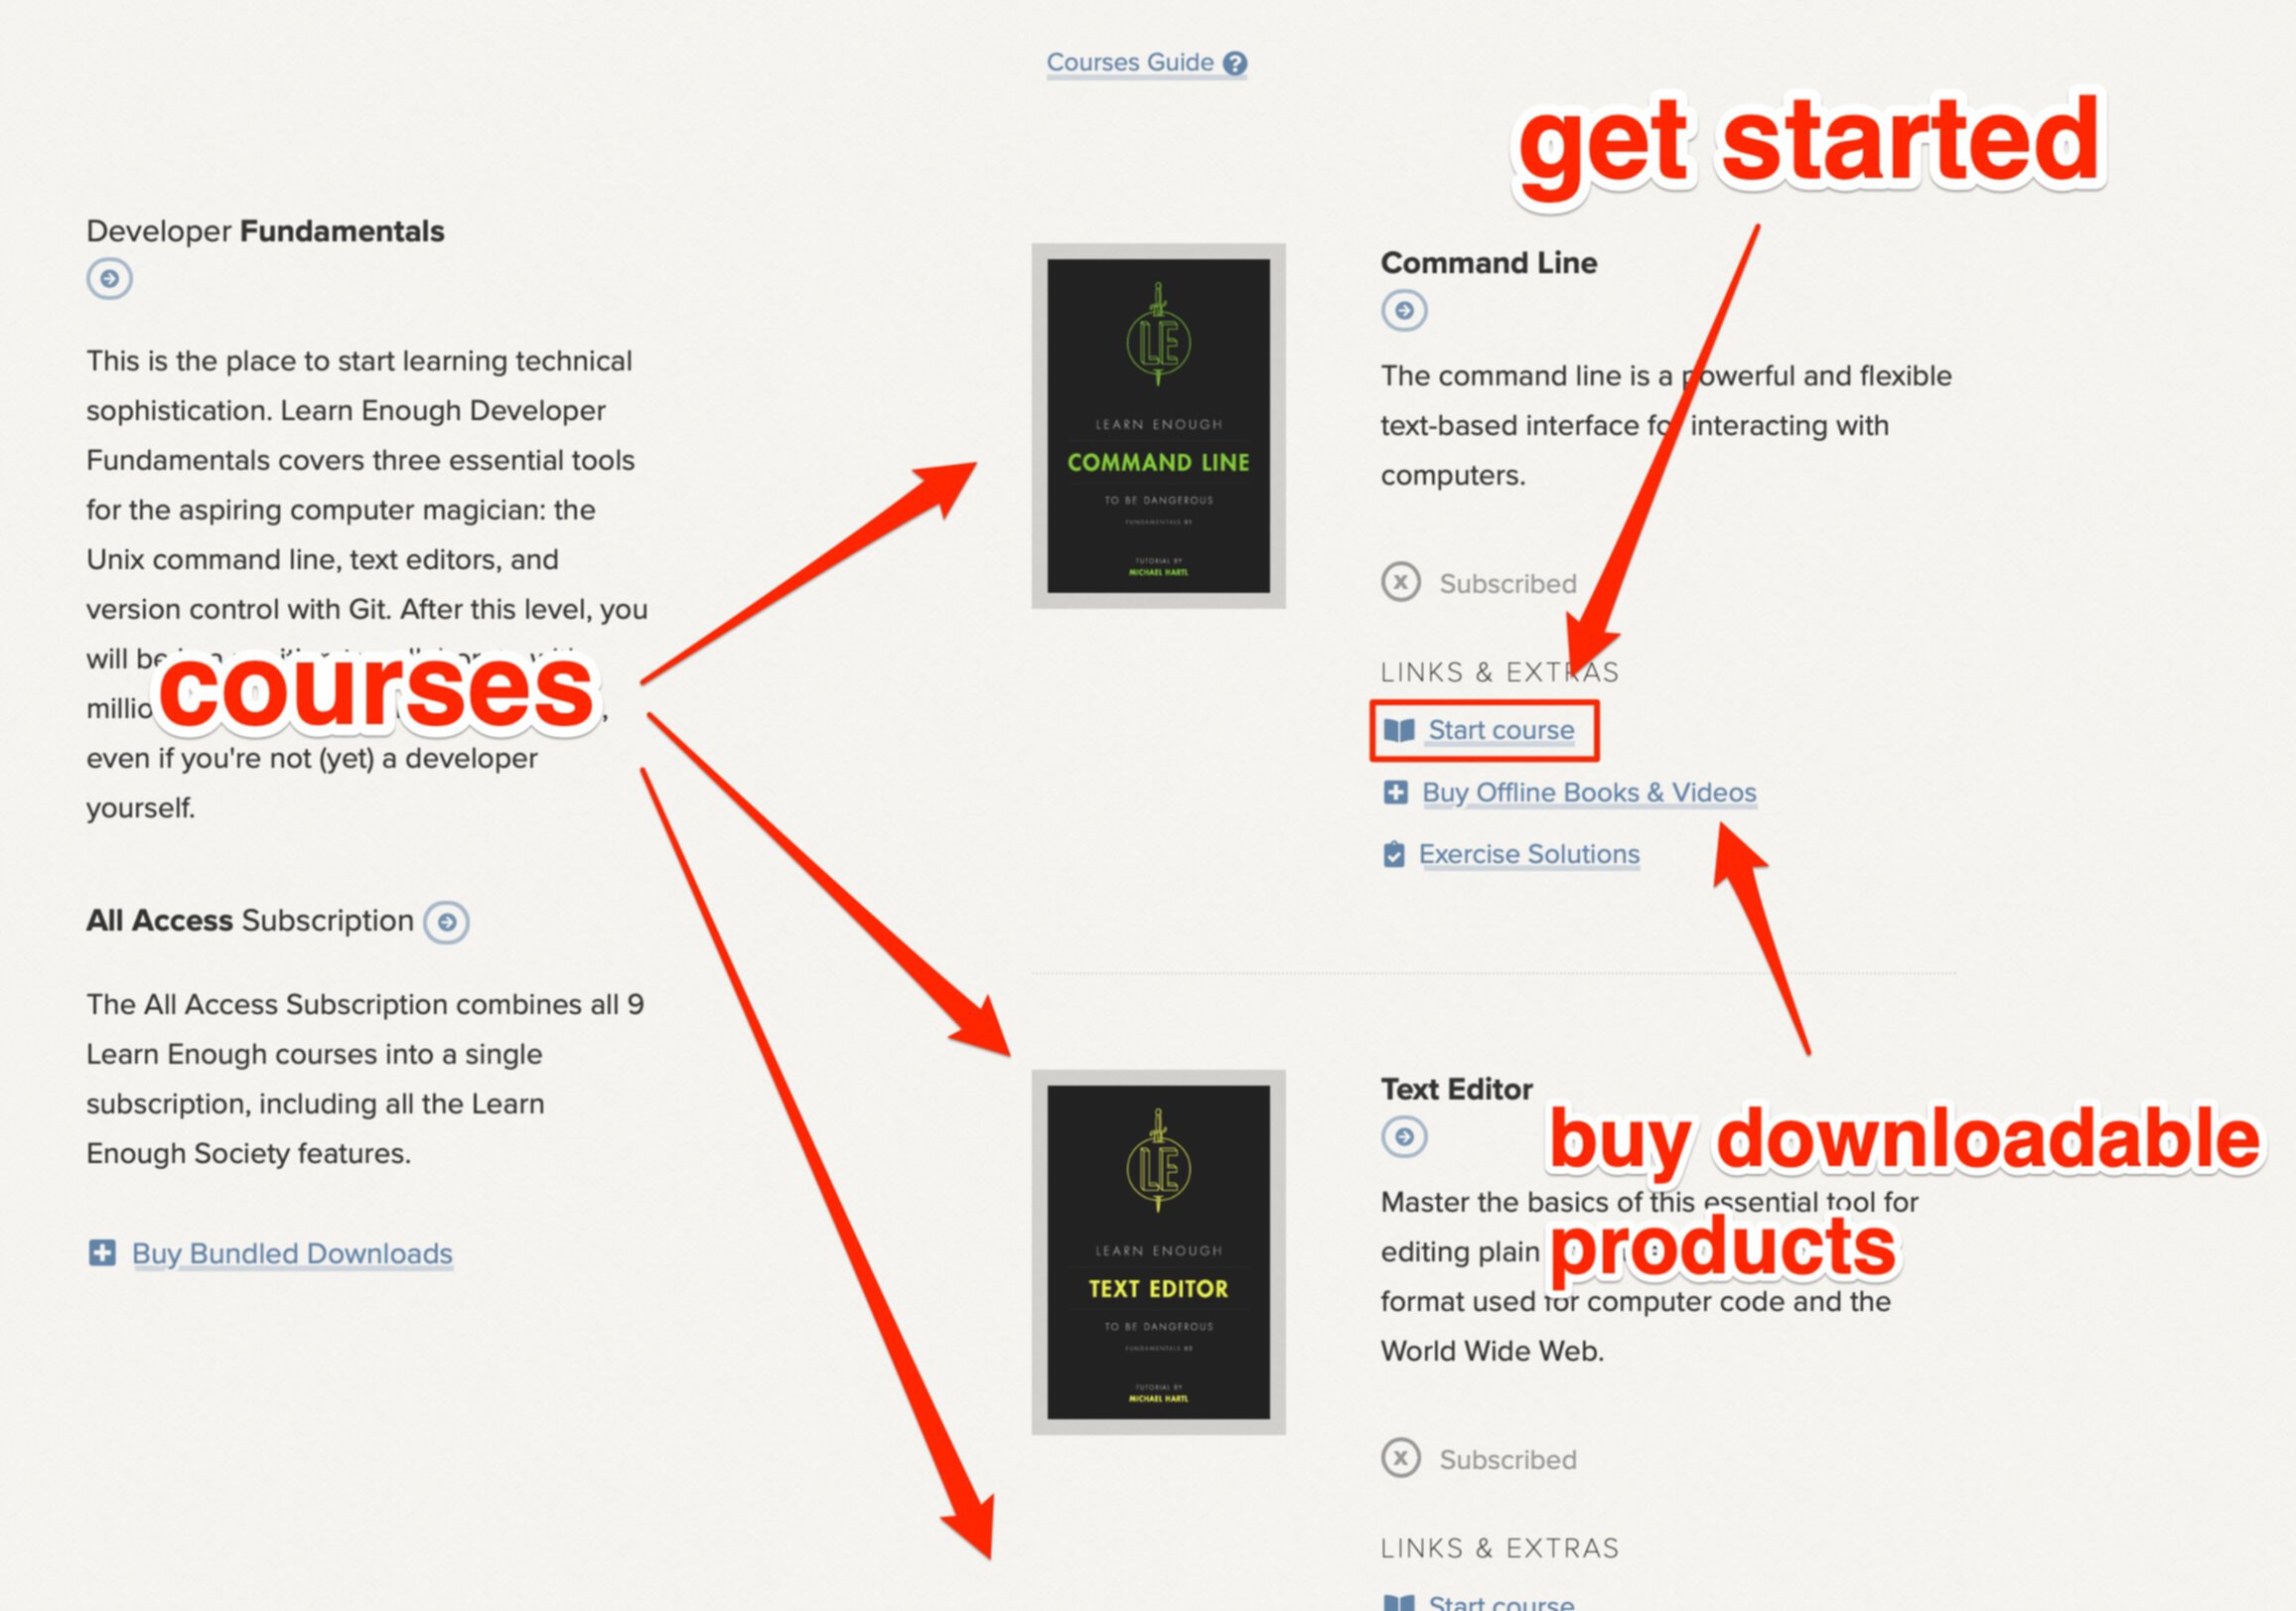
Learn Enough CSS & Layout to Be Dangerous is available as an ebook, an offline video series, and as a structured, self-paced online course. The course includes full online access to the book content, streaming videos, progress tracking, exercises, and community exercise answers.

All Access Subscription
MORE INFO

The Learn Enough All Access Subscription includes the entire Learn Enough introductory sequence and the full Ruby on Rails Tutorial. More than 2500 pages of book content and 53 hours of video that teach you to code from total beginner up to professional-grade web development.

Sign up for the course and get access to the full tutorial and streaming screencasts!

5.9 Fixed header

You may have noticed the recent design trend where the header sticks to the top of the screen as you scroll down the page. This is called a fixed header—the header is styled to use position: fixed to take the header entirely out of the page content and stick it to the top of the user’s browser. If your site has a bunch of different sections that your users need to navigate to, a fixed header can be a good solution to keep them from getting annoyed that they always have to scroll to the top to do something new.

The way to implement a fixed header is to change the positioning of the header to fixed while specifying a z-index for the header. Recall from the beginning of Section 5.8 that the z-index determines whether an element is drawn in front or behind other elements. We’ll want to give our header a large value for z-index, which will force the browser to draw the element above other elements (i.e., closer to the user using our stack-of-paper analogy).

The styles to change the positioning value and set a z-index are shown in Listing 5.35.

Listing 5.35: Fixing the header’s position means that content will now scroll under it. css/main.css
.
.
.
.header {
  background-color: #000;
  color: #fff;
  position: fixed;
  width: 100%;
  z-index: 20;
}
.
.
.

When you check the work in your browser, you’ll find that the header is now pinned to the top of the screen, and when you scroll, all the content will scroll underneath (Figure 5.40).

images/figures/fixed_header
Figure 5.40: A fixed header—you can see that it is covering content now.

The resulting black bar at the top looks cool, but what if we were to put a border around the entire page? It could look interesting to have a dark area around the whole site to frame the content. We can arrange for this with the styling shown in Listing 5.36.

Listing 5.36: Just for fun, let’s put a border around the entire site. css/main.css
.
.
.
/* GLOBAL STYLES */
html {
  box-shadow: 0 0 0 30px #000 inset;
  padding: 0 30px;
}
.
.
.

Listing 5.36 introduces the box-shadow style, which is a relatively new CSS style that lets you add drop shadows to HTML elements, and the declaration that we added is a shorthand for box-shadow: x-axis y-axis blur size color inset. We aren’t going to go any deeper into it, but if you want to play around with box shadows there are a number of sites that let you fiddle with the settings, such as CSSmatic box shadow.

After applying the code in Listing 5.36, your page should now look like Figure 5.41.

images/figures/html-box-shadow
Figure 5.41: Box shadow inset around the entire page. Nifty.

After saving and refreshing, you might have noticed that the logo in the header now looks a little off since it isn’t right up in the corner anymore. This is because we increased the padding on the entire site by 30px for the black border. Let’s use a negative value (-30px) on the positioning to get it back in place, as shown in Listing 5.37.

The fixed final header should now look like Figure 5.42 (shown as it should appear with the mouse cursor on the logo, making it orange).

One thing you might have noticed is that after adding fixed positioning to the header, the big h1 text in the hero is covered. We’ll tackle this issue in Section 6.2.

Now that we’ve got the header squared away, let’s turn our attention to the other end of the site.

5.9.1 Exercises

  1. To see why it is important to define the z-index of the header, try setting the value to 1, and then add styles to the .social-list class to set position: relative and z-index: 40. Then scroll the page.

Join the Mailing List

Get occasional notifications about things like product discounts, blog posts, and new or updated tutorials. Unsubscribe at any time.